
Remember the days when you went on vacation and toted along a digital or film camera, plus an actual address book, to-do list, and a bag full of maps? Thanks to the introduction of smartphones, all those tools are now confined within one device: your iPhone.
Did you know your iPhone also has a built-in level? Here’s how to find and use it.
Why would you need a portable level?
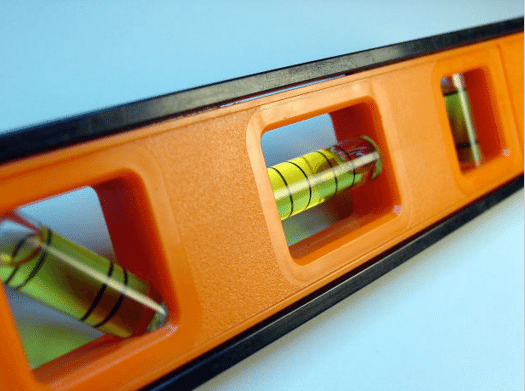
Traditional levels, like the one pictured above, are big and bulky and don’t travel especially well. I learned this the hard way when trying to hang pictures on my son’s dorm room wall recently. Those little glass tubes filled with liquid and the moving bubble are a whole lot more fragile than they look, let me tell you!
Levels—sometimes called bubble levels, carpenter’s levels or spirit levels– are used to establish horizontal planes. This is helpful when you need to hang a picture or shelf, for example. Using a level will ensure your shelf or picture is level in relation to the wall you’re hanging it on, and not dipping down to the right or left.
Having a portable level in your pocket means you don’t have to fret over how to pack a traditional level. And in the case of the built-in iPhone level, it also means you have a handy tool at your disposal anytime you need it without having to lug around anything extra.
How to use the iPhone level
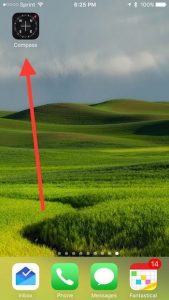
The level that comes on the iPhone by default is located within the Compass app, so you’ll first need to find and open the Compass app by tapping on it.
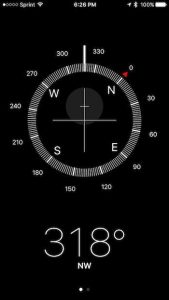
Once the Compass app is open, you’ll see an actual compass that looks like the one shown above. Swipe from right to left anywhere on the screen to move over to the level.

Now you can lay your iPhone horizontally, vertically or even flat on anything you’re working on. Move the object up or down until your app shows a big zero and a large green “leveled” window like the above photo.
Level up!